Adding a table to your Wix website is a great way to organize and present information in an easy-to-read format. Tables can be used to display data, create menus, or even add forms and applications. To add a table to your Wix site, simply click on the “Add” button from the left sidebar, then select “Table.”
A new window will appear with various options for customizing your table. You can choose the number of columns and rows, the width and height of each cell, the text alignment, and more. Once you’ve created your table, click on the “Save” button to add it to your site.
- Go to the editor and click on ‘Add’ in the left-hand side menu
- A pop-up will appear with different elements that can be added to your website
- Select ‘Table
- A new table will appear on your page
- To add content, click on the first cell and start typing
- Repeat this process for each cell in the table
- Once you’re finished, click ‘Save & Exit
How To Add a Table To a Wix Website
Can You Make a Table in Wix?
Yes, you can make a table in Wix. You can do this by adding the “Table” element to your page. This will allow you to add a table with up to six columns and six rows.
How Do I Insert an Excel Table into Wix?
If you want to insert an Excel table into Wix, there are a few steps that you need to follow. First, open up the Excel document that contains the table that you want to insert. Next, select the entire table by clicking on the upper-left corner of the table and dragging your mouse down to the lower-right corner.
Once the entire table is selected, press “Ctrl+C” on your keyboard to copy it.
After copying the table, go to your Wix account and open up the page or post where you want to insert the Excel table. Click on the “Add” button and then select “More.”
In the “More” menu, click on “HTML Code.” A box will pop up asking you if you want to enter code. Click “Yes.”
Once you’re in HTML mode, press “Ctrl+V” on your keyboard to paste in the copied Excel table code. Finally, click “Update” and then “Publish” to make your changes live on your website.
How Do I Add Rows And Columns in Wix?
Assuming you would like to add a row or column in the Wix Editor:
1. Go to the Add tab on the left-hand side of the Editor.
2. Hover over the Section element and click on it when it appears.
3. In the pop-up modal, select either Row or Column from the Layout dropdown menu.
4. Click Add to add it to your page at the bottom of your other content.
How Do I Add a Table to My Website?
Adding a table to your website can be done in a few different ways. One way is to use an HTML table tag. This will allow you to create a table using code.
Another way is to use a CSS file. This will give you more control over the look and feel of your table. Finally, you can use an online tool like Tableizer.
This tool will allow you to create a table without having to write any code.
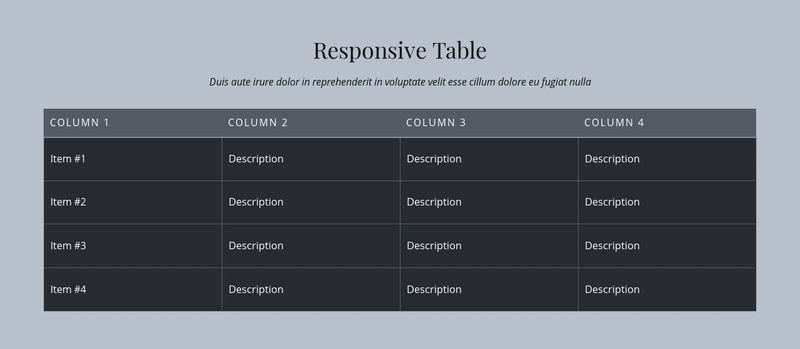
Credit: nicepage.com
Wix Table
If you’re looking to add a table to your Wix website, there are a few things you need to know. Here’s a quick guide on how to add and customize tables in Wix.
To add a table:
1. Click Add on the left side of the Editor.
2. Hover over More and then click Tables.
3. Click the type of table you want to add and then click Add to Page.
4. Enter the number of rows and columns you want in your table and then click OK.
To customize your table:
1. Click anywhere inside the table to select it.
2 .Click Change Table Design from the toolbar that appears above your table . 3 .
Choose one of the preset designs or click Customize Design to create your own design . 4 .
Conclusion
If you’re using Wix to create a website, you may want to add a table at some point. Tables can be used to organize data or content in a way that’s easy for visitors to understand. Fortunately, adding a table in Wix is relatively simple.
Here’s how:
First, log into your Wix account and open the Editor. Then, click on the “Add” button and select “Table.”
A new window will open where you can choose the number of rows and columns for your table.
Once you’ve selected the desired dimensions, click on the “Create Table” button. This will insert a blank table into your site.
To add content to the table, simply click on a cell and start typing.
When you’re finished, be sure to save your changes by clicking on the “Save” button in the top-right corner of the Editor.